An Introduction to Skateboards

I did a project at school that was designed for skateboarding for beginners, which included how to learn the basic tricks (e.g. ollie, pop shuvit and foot stomp) and how to put one together. A few people told me they found the section on the various parts (of a skateboard) quite interesting so I decided to share a summary of those here. So here are the basic parts of a skateboard.

The Deck

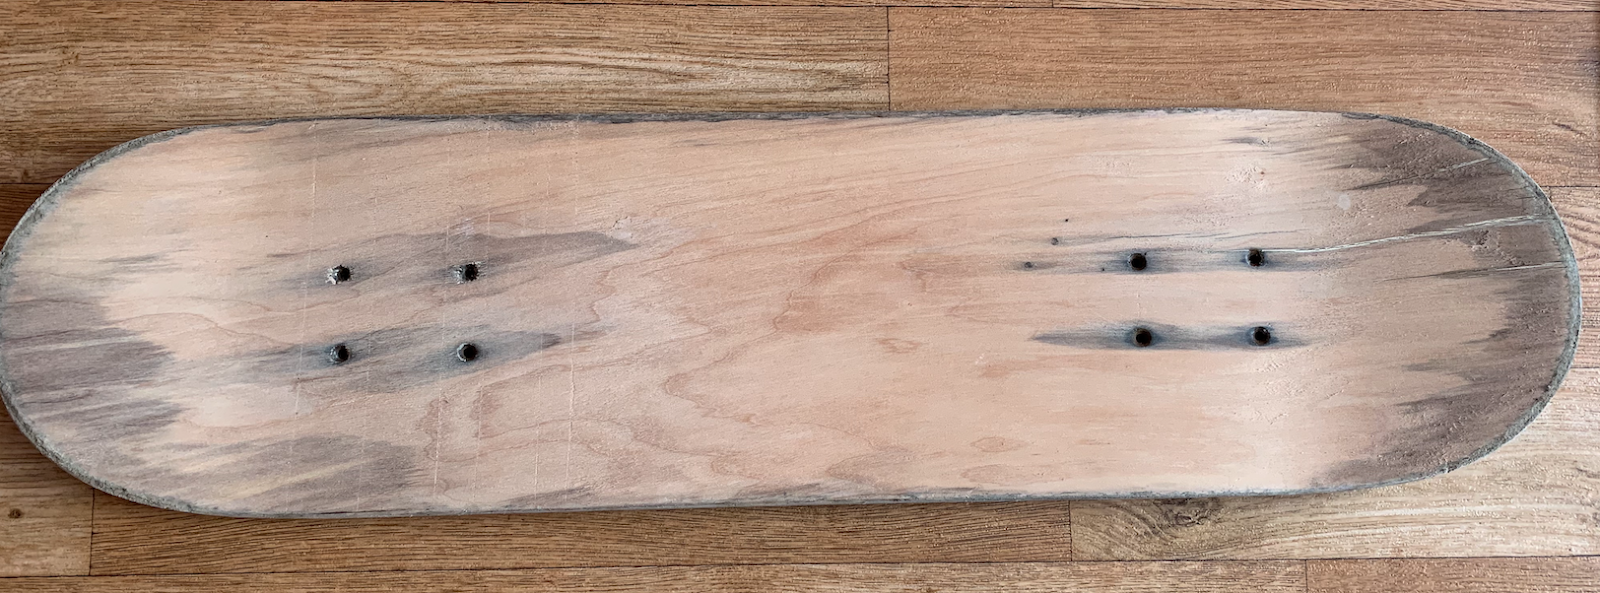
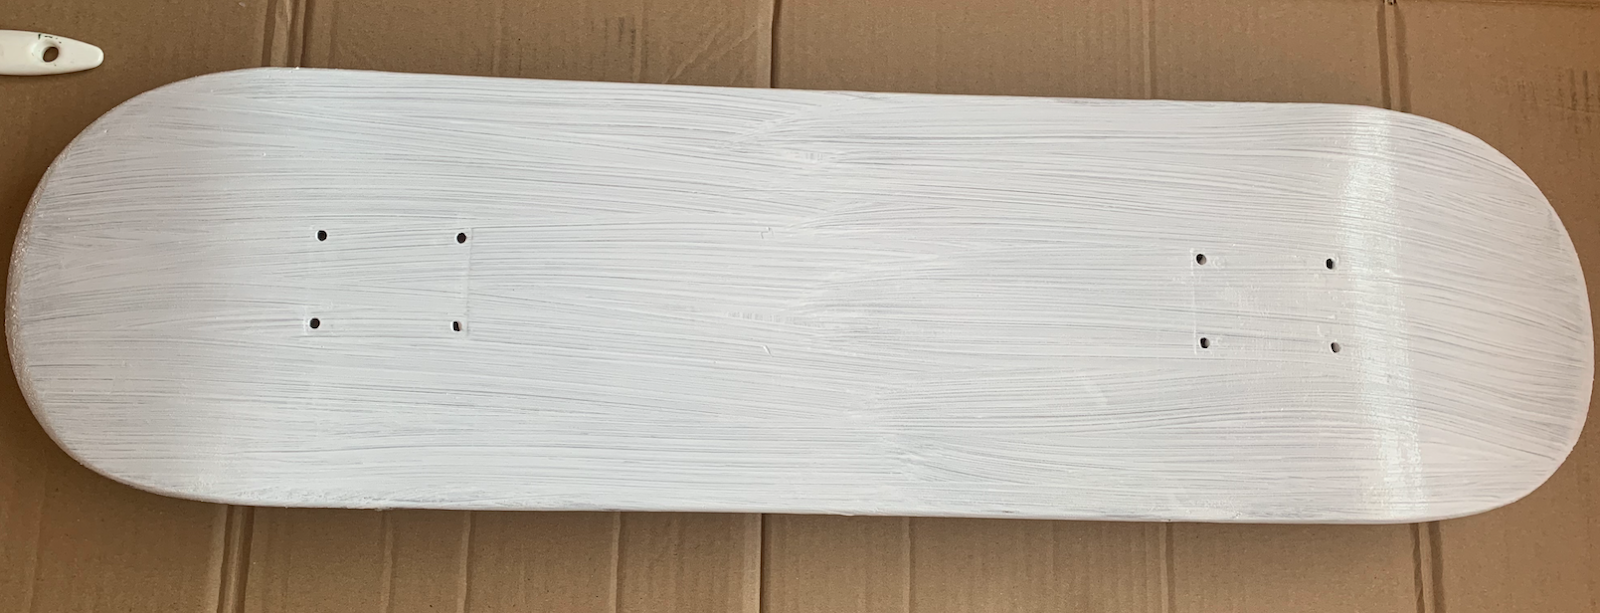
Also known as the board, this is the part of the skateboard that you stand on while riding it. It is usually made from a number of layers of maple wood which is known for its strength and durability. The front of the deck (as you are riding it) is known as the nose and the rear is known as the tail. The tail is often a little smaller than the nose and a little bit lower to the ground.

Decks come in different sizes and are measured by their width from side to side (as opposed to nose to tail). Sizes typically range from 7” to 9” with beginners usually choosing an 8” deck. Larger decks are easier to ride and control but can be harder for some tricks (e.g. kickflips). Decks also have small holes in them to help with attaching the trucks (below).

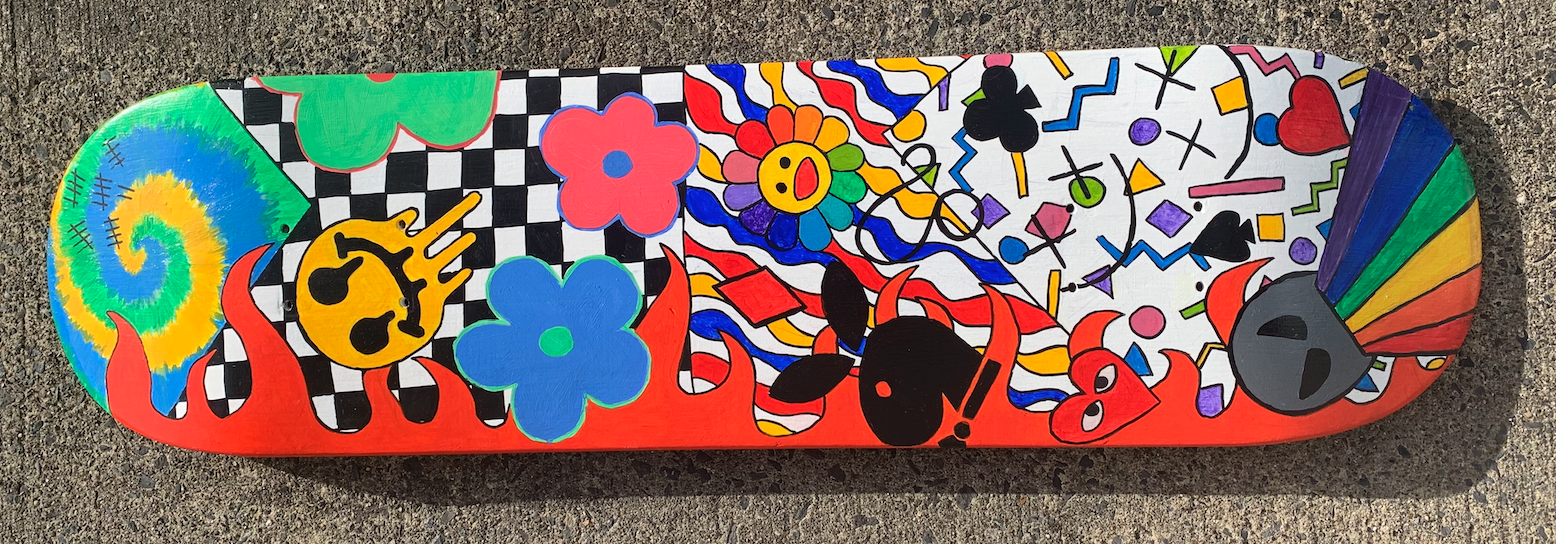
Decks are usually decorated with artwork on the underside, where the bit you stand on is always covered in what’s called grip tape. The artwork (on the underside) has no bearing on the performance of the skateboard but is usually something that people are most interested in when they see one for the first time.

The Trucks

The trucks connect the wheels to the deck. Inside the truck are things called bushings and these are the part of the skateboard that allows it to turn as the rider leans from side to side. Trucks are usually made from aluminium and the bushings are made from what looks like rubber but which is actually polyurethane. The wheels (below) are made from the same material.

The trucks are measured by size, which is how far they are from side to side. Sizes range from 5” to 9” and a typical size for beginners is 7.5”.

The Wheels

The wheels are also made from polyurethane and contain bearings on the inside, which allow them to spin. These bearings are very similar to those used in bicycle and scooter wheels. There are two different ways that wheels are measured – their diameter and their hardness.

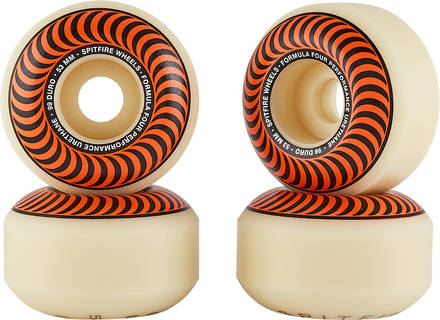
When measured by diameter, sizes typically range from 48mm to 60mm with typical diameters used by beginners being 52mm – 54mm. The hardness of wheels tends to refer to the amount of grip and impact (or amount of shock) they can absorb. Most wheel manufacturers use the Durometer A Scale to define the hardness of their wheels, with wheels in the range of 75a-90a considered to be soft, 90a-98a being medium and anything above that being considered hard.

The Grip Tape

The grip tape is stuck to the top of the deck so there is something for your feet to grip to while controlling the skateboard. While it looks like sandpaper, it is actually made from a mixture of Silicon Carbide and Aluminium Oxide, which gives it its rough, but durable and grippy, texture.

Many skateboarding companies are now selling lots of grip tapes with different designs and colours on them, some of which are very artistic. I guess this is because the normal artistic elements of a skateboard (e.g. the underside of the deck) is normally hidden from view, so it’s probably a popular idea to have more of the artistry visible.

Skateboard Restoration Project

I was out walking one day and found an old skateboard abandoned near my home and I decided to try restoring it to see what I might learn about how skateboards are actually made. Seeing as I didn’t know all that much about the parts of a skateboard, I first did some research on that. There’s lots of places online for this but I found YouTube videos to be the best way to learn about it.

Damage Limitation

Removing the old parts from the skateboard was actually harder than I thought, partly because it was so rusted and damp, but also because I probably didn’t have the right tools. I bought some basic skateboard tools in a local shop, along with some white vinegar to help de-rust some of the other parts, and I eventually managed to disassemble it fully. Gladly, I was able to salvage most of the parts, except the wheel bearings which were not designed to be opened so could not be reused. Instead, I used the bearings from a few spare fidget spinners that I had lying around and they actually did the job nicely.

Replacement Parts

Because the outer rims of the wheels were also badly worn (with large chunks missing), I decided to treat myself to a replacement set. I also bought a replacement grip tape as the old one did not come off the board in one piece. Apart from some art supplies (including primer, paint and varnish), these were the only replacement parts I had to buy.

Dampness Control

I tried sanding down the board but quickly realised that it was still very damp, from having been outside in the rain for so long. I did a little more research here and tried leaving the board in my hotpress for a couple of weeks. This didn’t really help all that much so I next tried leaving it in my Dad’s shed where he had a dehumidifier that keeps his old motorbike dry. This helped a lot more.

After trying to sand it by hand a couple times, which was very hard going, I took a trip to my uncle’s house to try out his electric sander. This made a big difference but he also had some white spirits and a heat gun in his garage which helped a lot too. Here is what it looked like at this stage.

Design Ideation

In the days and weeks while it was drying, I also began to think about what design I might like to put on it once it was finished. I knew I’d need a primer first because you can’t apply acrylic paints directly onto wood anyway and the primer would also shield the acrylic pains from any remaining dampness in the wood, which there was some. I actually ended up applying a total of 3 coats of primer before I was fully happy with the foundation for the next layer, after which it looked like this.

Painting My Design

The final stage (before reassembly), which was also the most enjoyable part for me, was to paint my design on the underside of the deck. I went with a mixture of different patterns and shapes, with strong colours, inspired from some ideas I saw on Pinterest. After some trial and error, I found a handy way to apply my design onto the deck using a B6 pencil with some A4 paper sheets and an iPad (where the design I was tracing was being displayed).

After tracing the design onto one side of the paper sheets (which were taped together), I turned over the pages and applied a heavy layer of dark pencil lead on the other side. I then flipped the page back over again and retraced my original design, which imprinted itself onto the deck via the lead layer underneath. I then applied the acrylic paint layer in the right places, after which I applied a few layers of varnish in the days after.

The Finishing Touches

In terms of reassembly, this started with applying a new grip tape. I wanted to put a design into this too and used a screwdriver to etch out my design as a pencil was too light. I then cut the tape into two halves and placed them on the deck, slightly apart, to get the effect I wanted. The reassembly finished with the installation of new trucks and wheels. Here is the finished product.

While it took a lot longer than I thought, I’m really pleased with the outcome and would definitely consider doing it again (hopefully in less time with all that I learned). If I do, I’ll be sure to add some details about them to my blog as well.